Importing Excel Data into SharePoint 2013
Open your Excel file

Click the Insert tab (1), select your data (2), click table (3) and click Ok (3)
Click anywhere inside the table (if the previous step as performed correctly a Design tab appears)

Click “Design” tab (1)
Click “Export” (2)
Click “Export table to SharePoint List” (3)
Enter Address URL Path of the site you wish to Import the Excel Data to (4)
This turns SharePoint as a source of data for the table to be exported (5) (The benefit of the Link is demonstrated after the export is completed)
Enter the preferred List name (6)
Enter Description (7)
Click Next
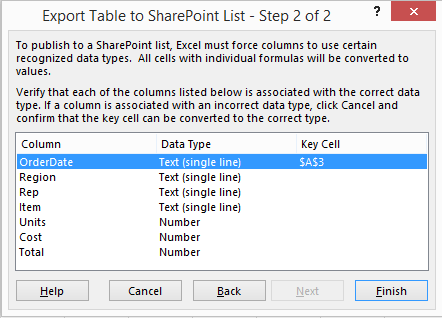
Click Finished
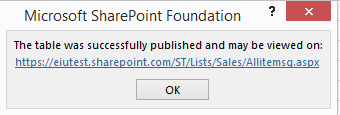
This means the data has been published to SharePoint List.

That’s it the Excel data is exported to SharePoinT
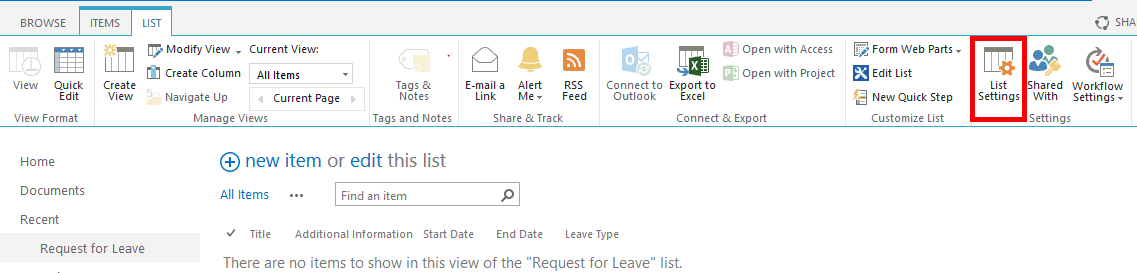
Benefit of “Create a read-only connection to the new SharePoint List”
Click “new item”

Fill out the Form and click Save

Right click on the table and click “Refresh” on the context menu

The latest data is visible in the Excel sheet.